Found

The document has moved here.

tutorials

Tutorial: A sash or a banner for your badges

If you’re going to make yourself a bunch of badges, you’ll need to collect them somewhere. The sash is classic, and if you’re having a bad day you can put it on, strut around the house, and remember all the ways you’re awesome. Or you can make a banner to hang on the wall for all to admire.

To make the sash you’ll need the following:

  • Fabric
  • Sewing machine and coordinating thread
  • OR heat-set hemming tape, like “Stitch Witchery,” and an iron
  • Measuring tape
  • Cutting mat and rotary cutter (optional, but highly recommended) or scissors
  • Ruler (the clear plastic quilters rulers are great)
  • Pinking shears (optional)

sash-01

Measure yourself from your shoulder to your hip, diagonally across your body. Add 6 inches to that measurement. Cut 2 rectangles of fabric to that length and 6 inches wide if you’re using the hem tape or 7 inches wide if you’re sewing.

Lay the two rectangles down on a cutting mat right sides together. Using a ruler and rotary cutter, measure from one corner on one side of the short end to one inch down on the other side and trim on the diagonal. (Or use the ruler and a pencil to mark and cut with scissors.) This is the shoulder of the sash.

sash-02

Separate the two panels. On one panel, fold the edges over twice (approximately 1/4 inch) toward the wrong side and sew around three sides, leaving the shoulder unhemmed.  Repeat with the second panel.

sash-03


sash-04

With right sides together, sew the sash at the shoulder using a 1/2 inch seam allowance. Use pinking shears to trim the shoulder seam. Iron the seam open and stitch flat. Because the seam is at an angle, you’ll have to tuck the end of the seam allowance under so it doesn’t show on the right side.

sash-05


sash-06

[Iron-on hem tape method: Separate the two panels. On one panel, fold the edges once toward the wrong side and and heat set the tape with your iron, leaving the shoulder un-hemmed. Repeat with the second panel. With the right sides together, heat set the shoulder seam. Press the seam flat. Use a second piece of hem tape to set the seam to one side (optional).]

Try on your sash and pin the ends together at your hip. Tack it in place, or pin it with a safety pin and call it a day.

sash-07

If you’re not the sash wearing type, you can easily make a banner instead. To make the banner you’ll need the same materials and tools as above and also a wooden dowel and some string.

Decide how big you want the finished banner to be and add three inches to the length and one inch to the width. Cut the fabric in those dimensions. Fold over the edges twice and stitch around all four sides.

banner-01

Fold over the top edge toward the wrong side two inches and stitch, creating a channel. Insert dowel into the channel, tie some string to each end of the dowel, and hang up your lovely new banner.

banner-02


banner-03


If rectangles are too boring for you, try out some different shapes – maybe a curved bottom, or a triangle. And you don’t have to choose a busy toile print like I did, either. You can go as plain or as garish as you like. You do you, my friends. (Yes, that’s a knitting needle instead of a dowel in that picture. I couldn’t find an appropriately sized dowel at the time.)

There you go. A super simple method for making a sash or a banner upon which to display your lovely badges. Feedback is always welcome, and I’d love to see photos of your projects! Happy crafting!

Leave a comment!

Tutorial: Yes, we need some stinking badges.

Badge Tutorial
I used to be a Girl Scout and as an adult it’s a bit disappointing that we don’t get to earn badges for doing stuff. I’m not suggesting the world owes me a cookie for being a decent, mostly functioning adult, but I do think giving oneself a little reward here and there can make life a bit more fun.

Badges are great for personal achievements. Get a promotion? Make yourself a badge! A friend is playing their first public gig? Make them a badge! Refrain from killing that annoying coworker? Badge!

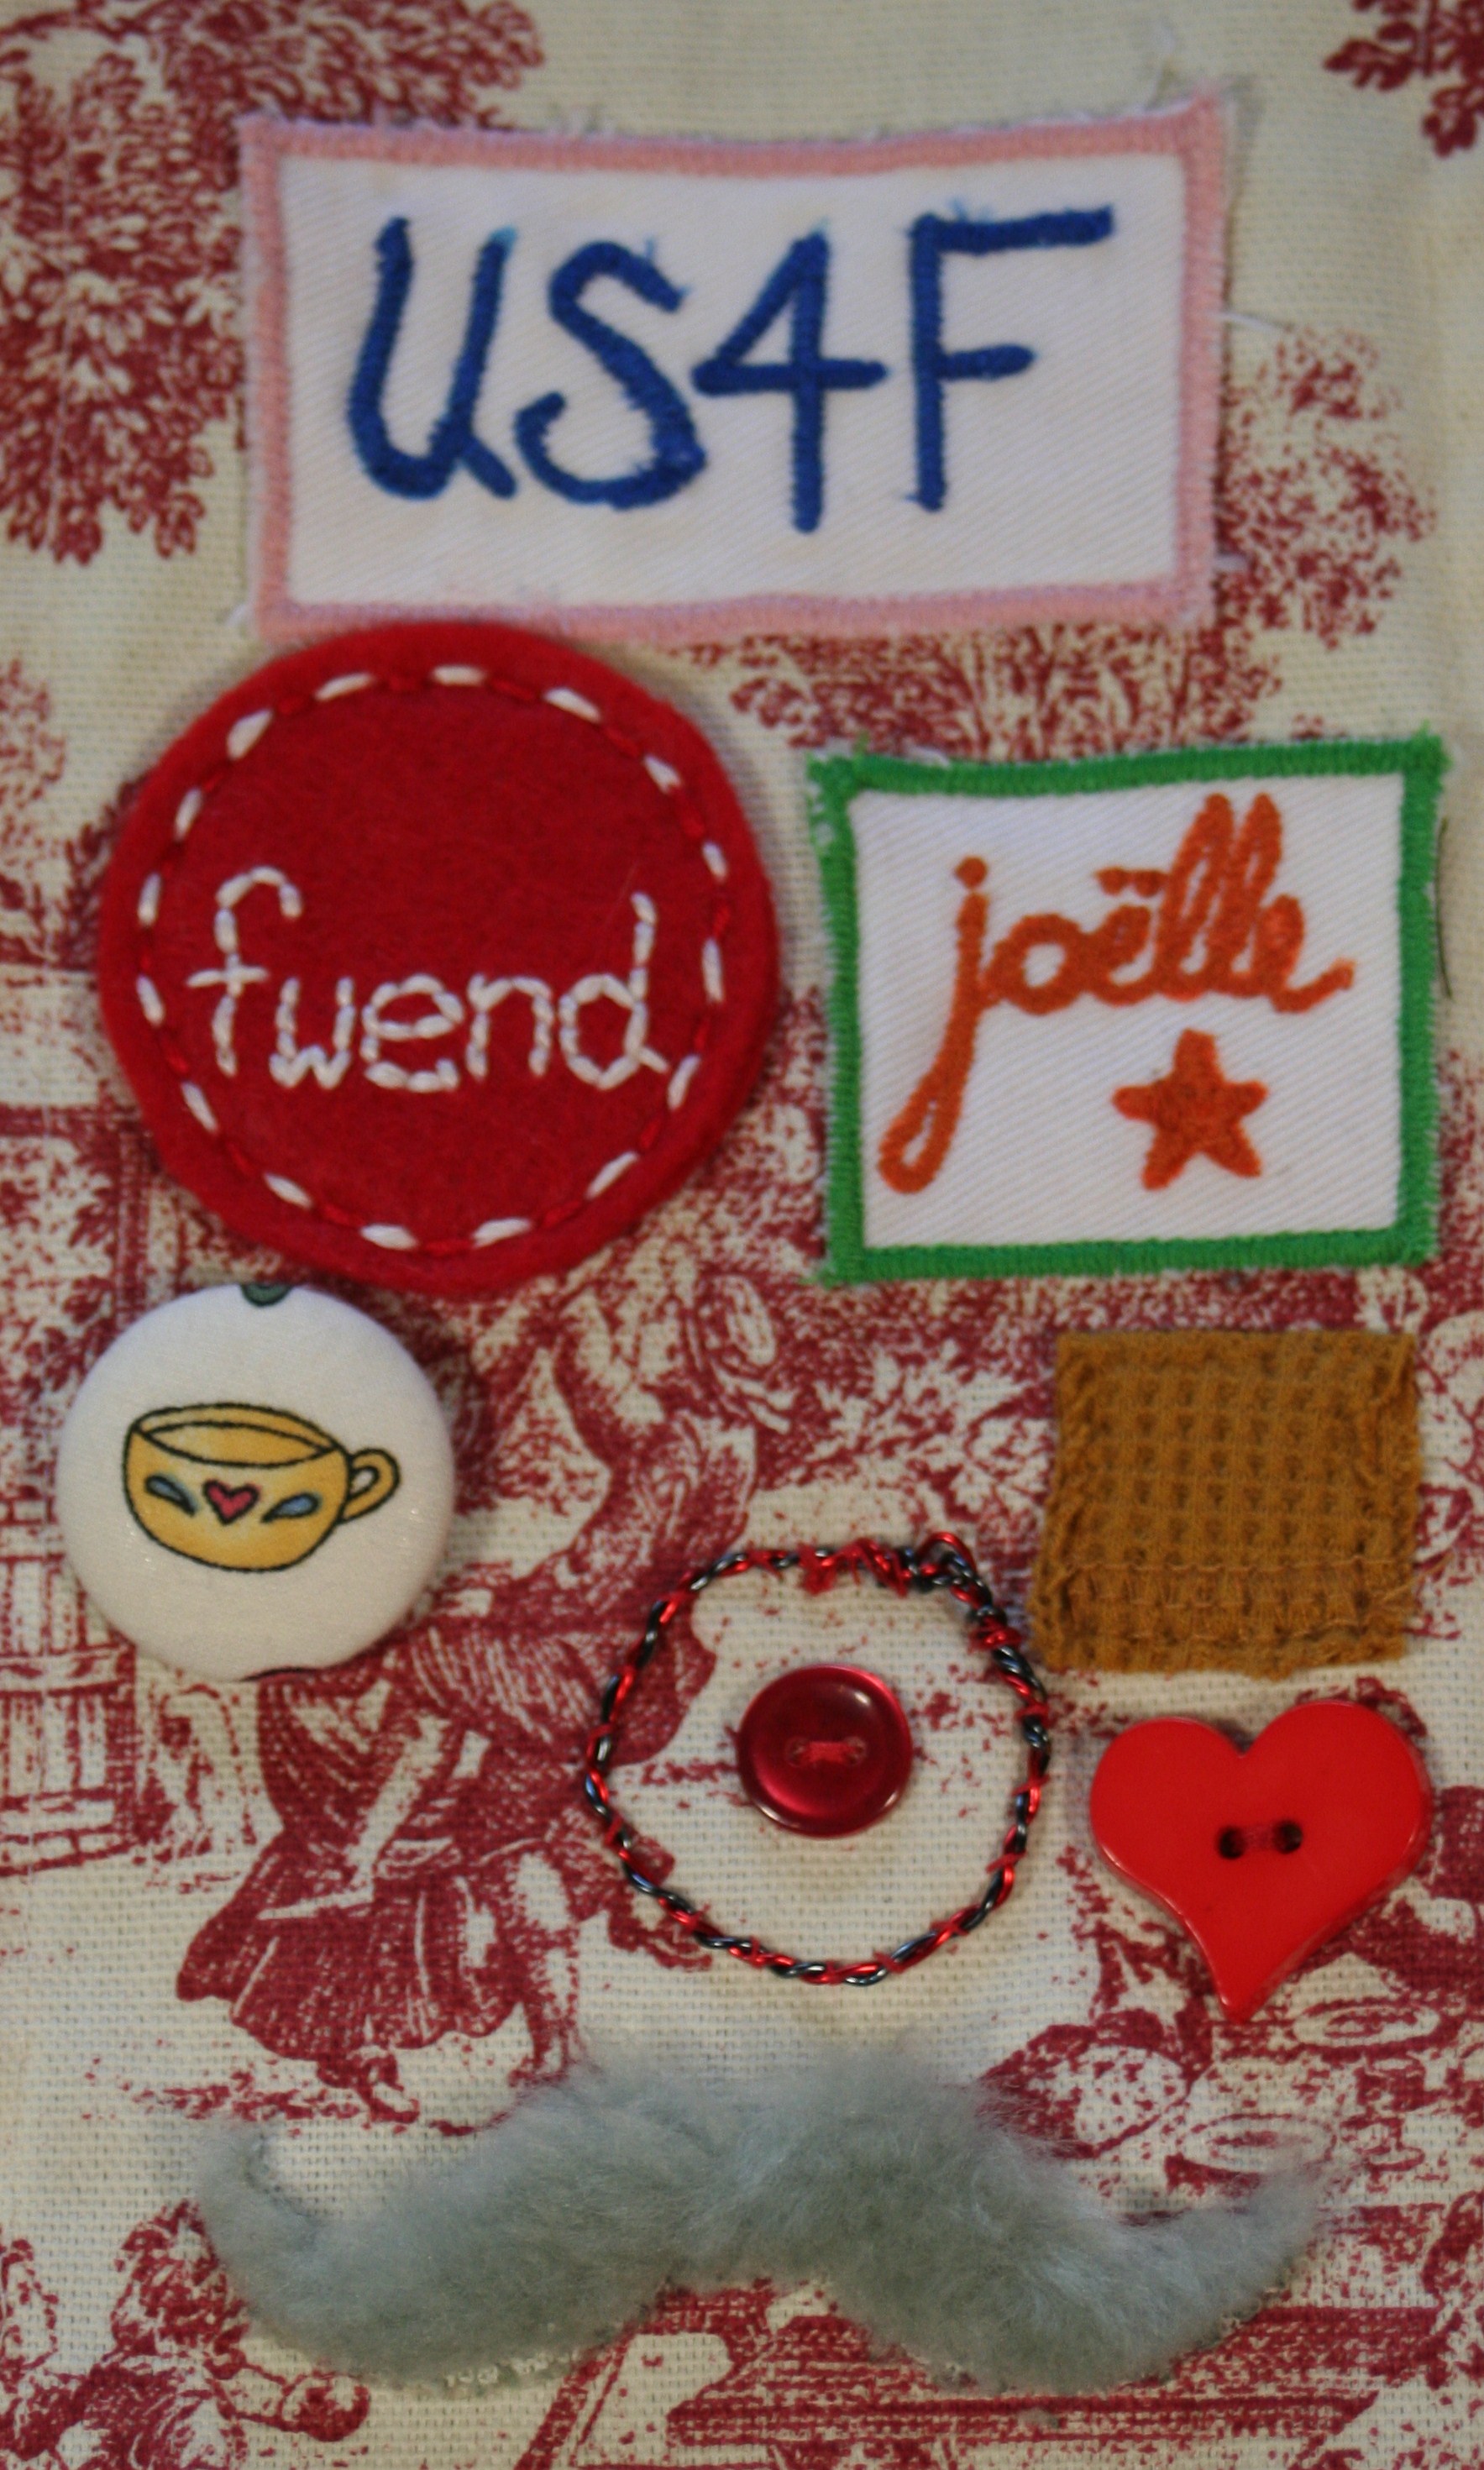
They don’t have to be merit-based either. A few years ago our circle of friends decided we’d gone on long enough without earning badges so we started a club (the Unnamed Society of Friends in Favor of Frippery and Frivolity, or US4F). Really it’s just the usual friends getting together, sharing a meal, doing some sort of thematic activity (which is sometimes just eating), and getting a badge to sew on our sash just for participating (or eating). It’s a way to mark the occasion.

A badge can take many forms. For our club’s strawberry themed event we just used red buttons. For the 70s party we sewed on costume mustaches. As long as it fits the occasion and you can sew it on a sash it’s fair game.

The classic round scouting style badge is really easy to make. You’ll need the following:

  • Scrap fabric
  • Scissors or pinking shears
  • Embroidery hoop, floss, and needle
  • Fabric markers

Your badge design shouldn’t be too complicated. It should be something that can be done in one or two colors, doesn’t have a lot of fine details, and conveys the idea of the achievement or occasion simply.

Once you have your design sorted, choose your fabric. For this tutorial I used some scrap denim from a pair of old jeans. See additional fabric recommendations below.

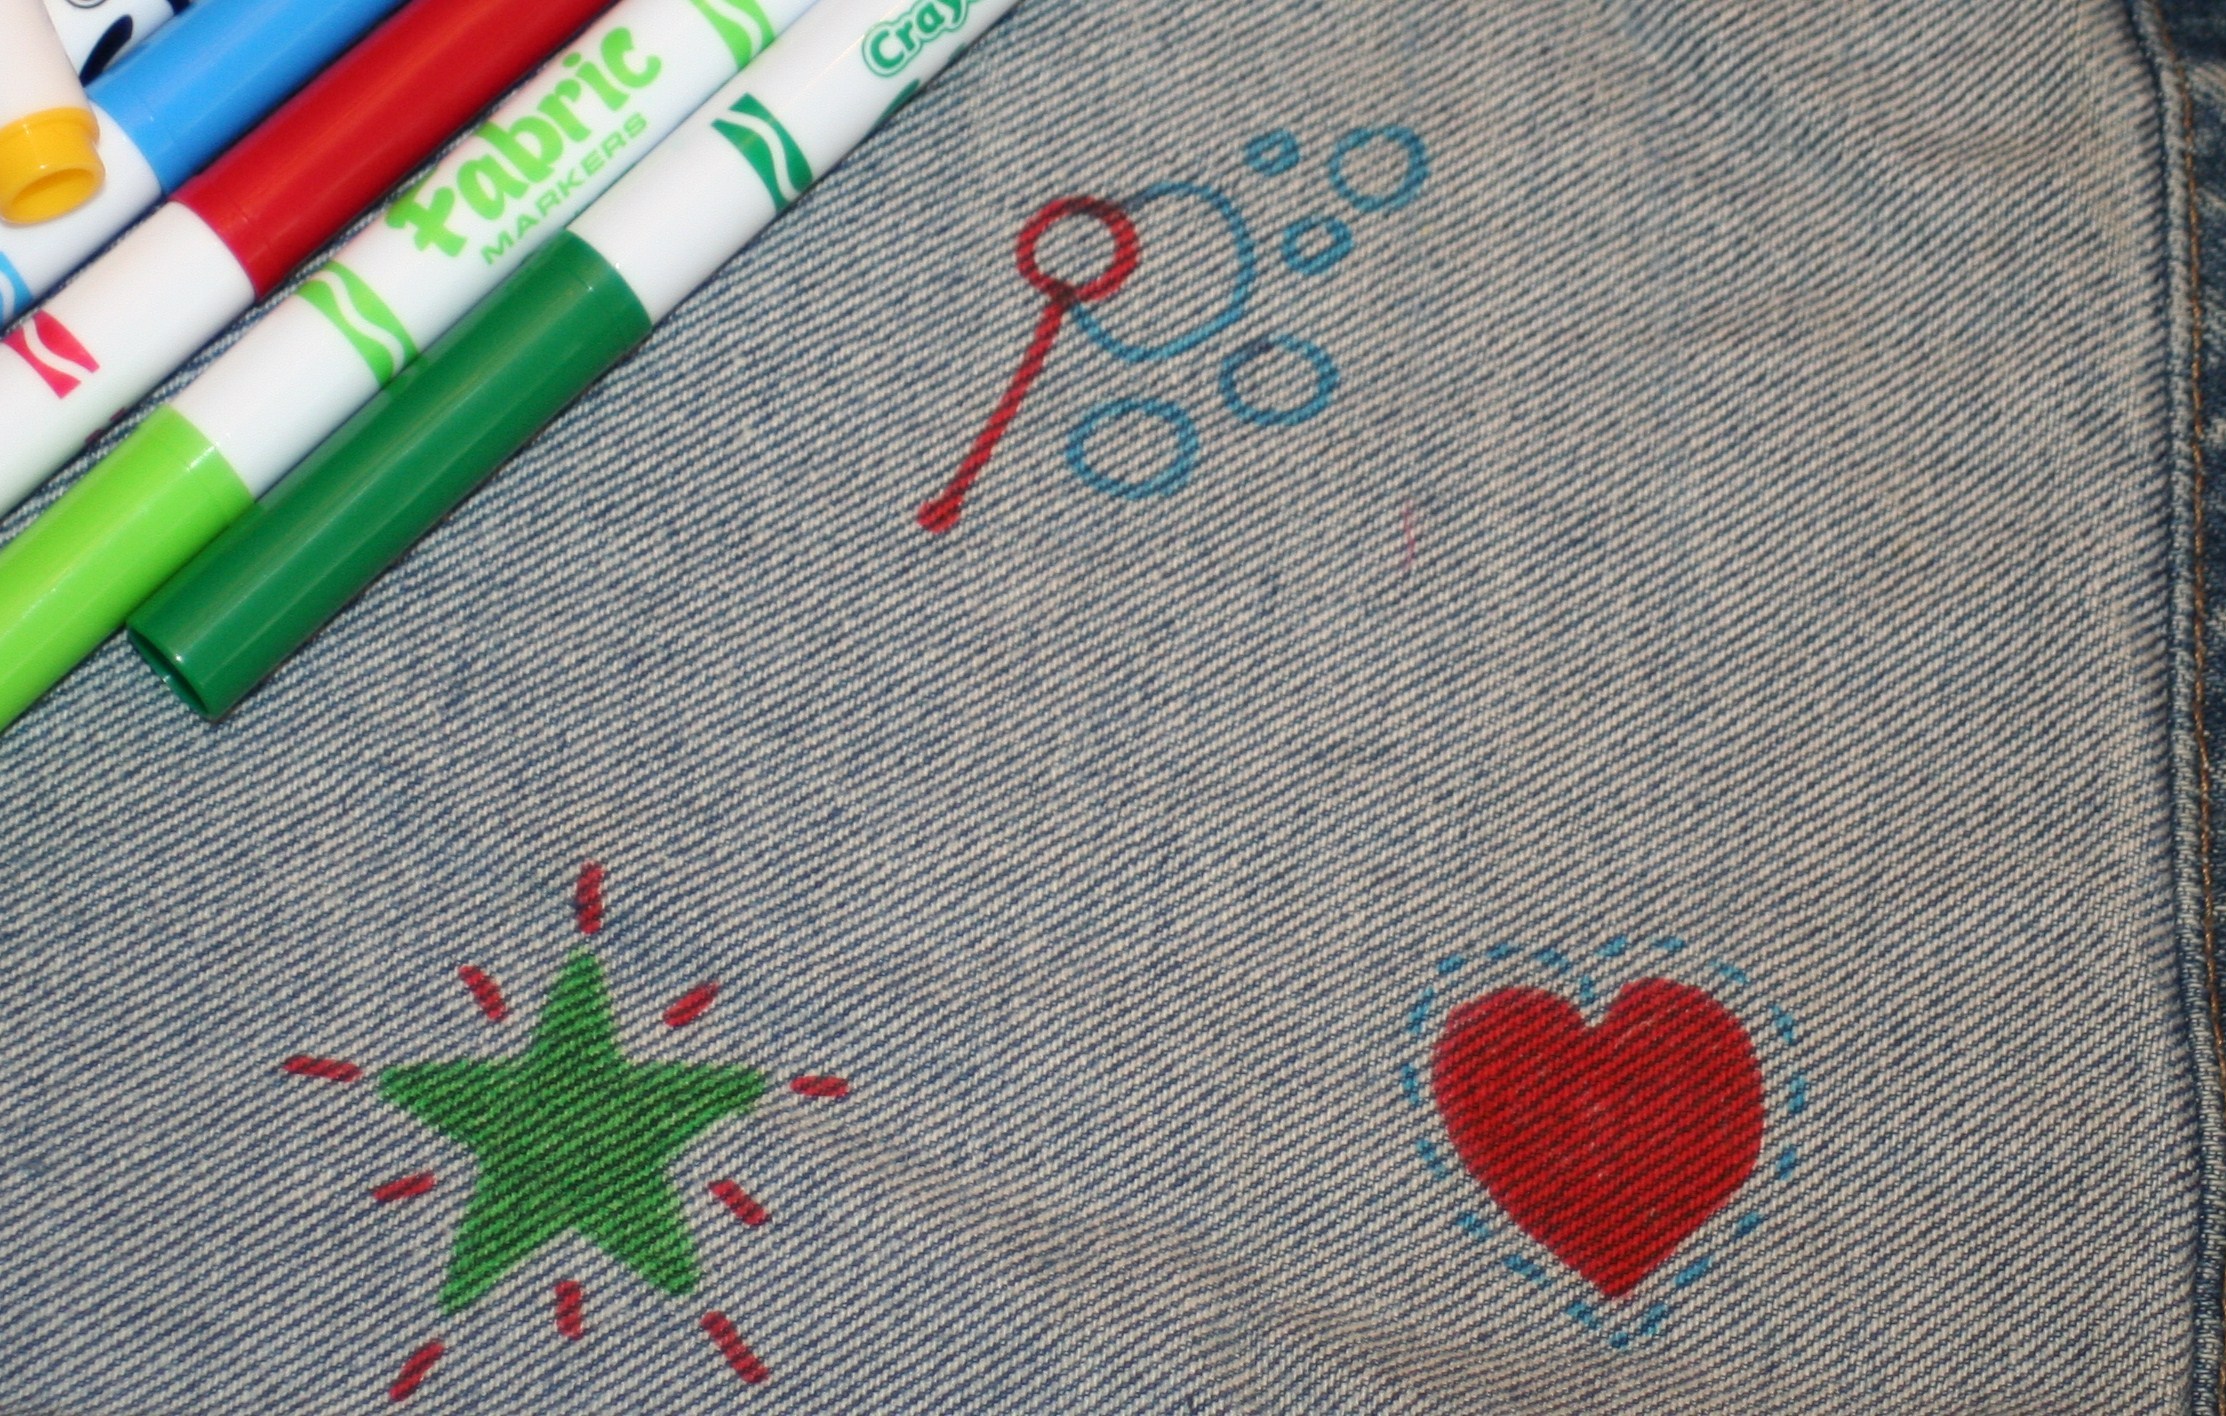
For a quickie badge, draw your design onto the fabric with fabric markers.

doodles on denim


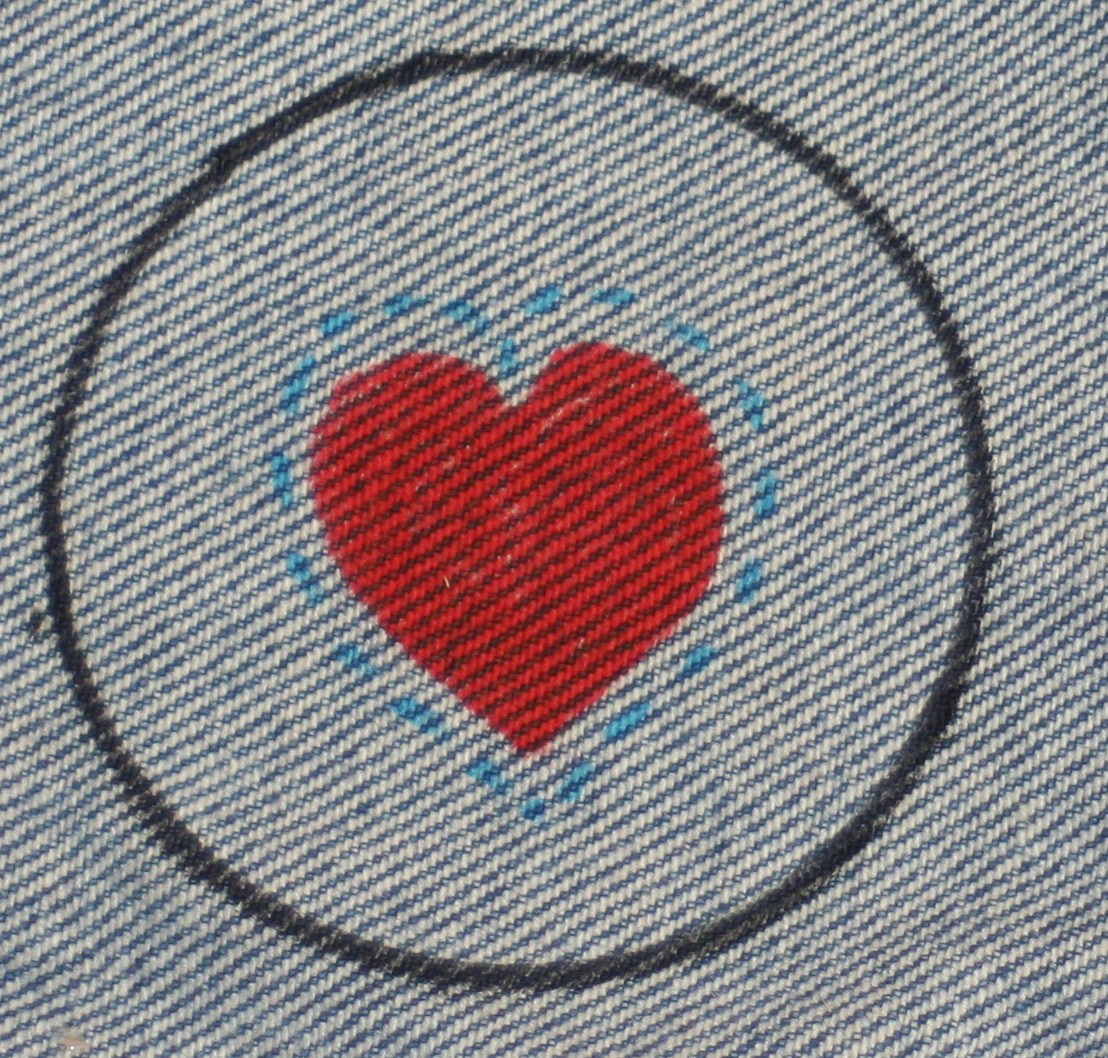
Mark the border of the badge. I used a votive candle as a template and traced around it.

Badge Tutorial

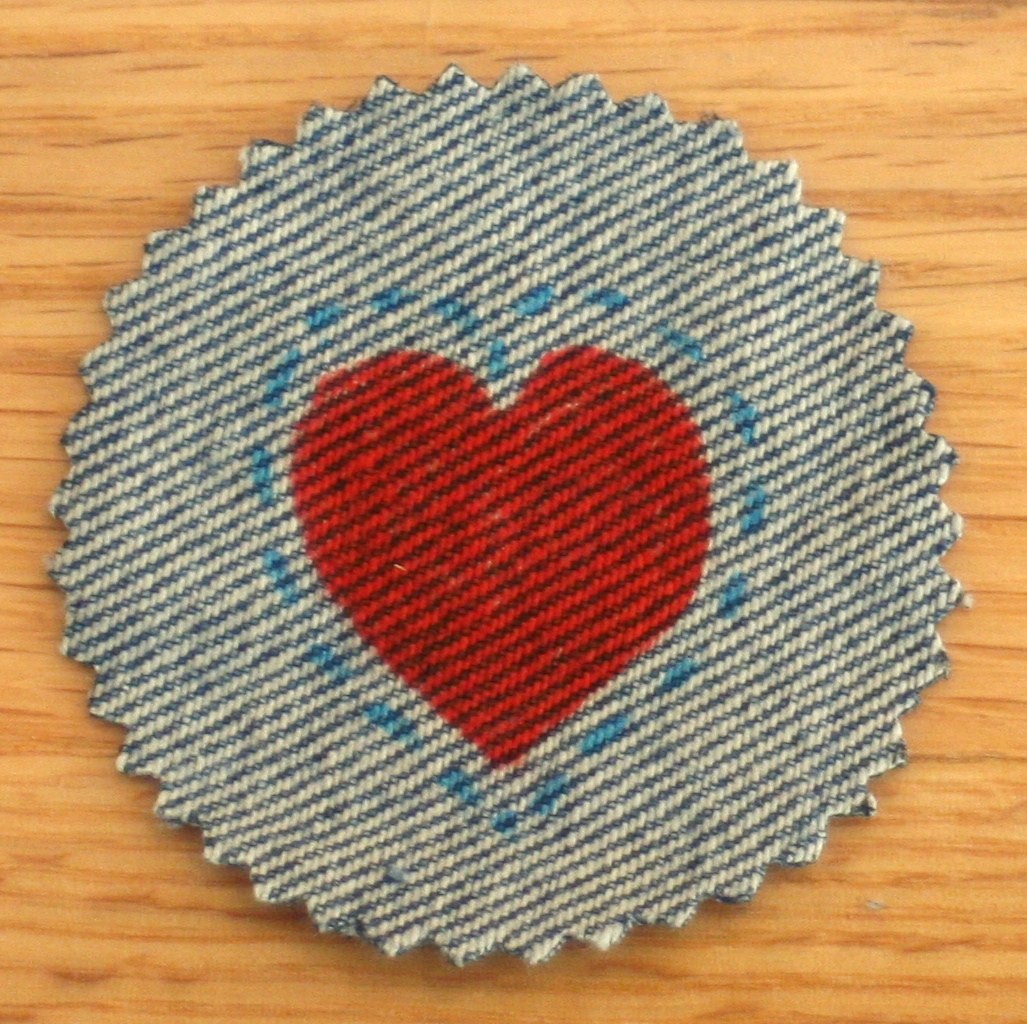
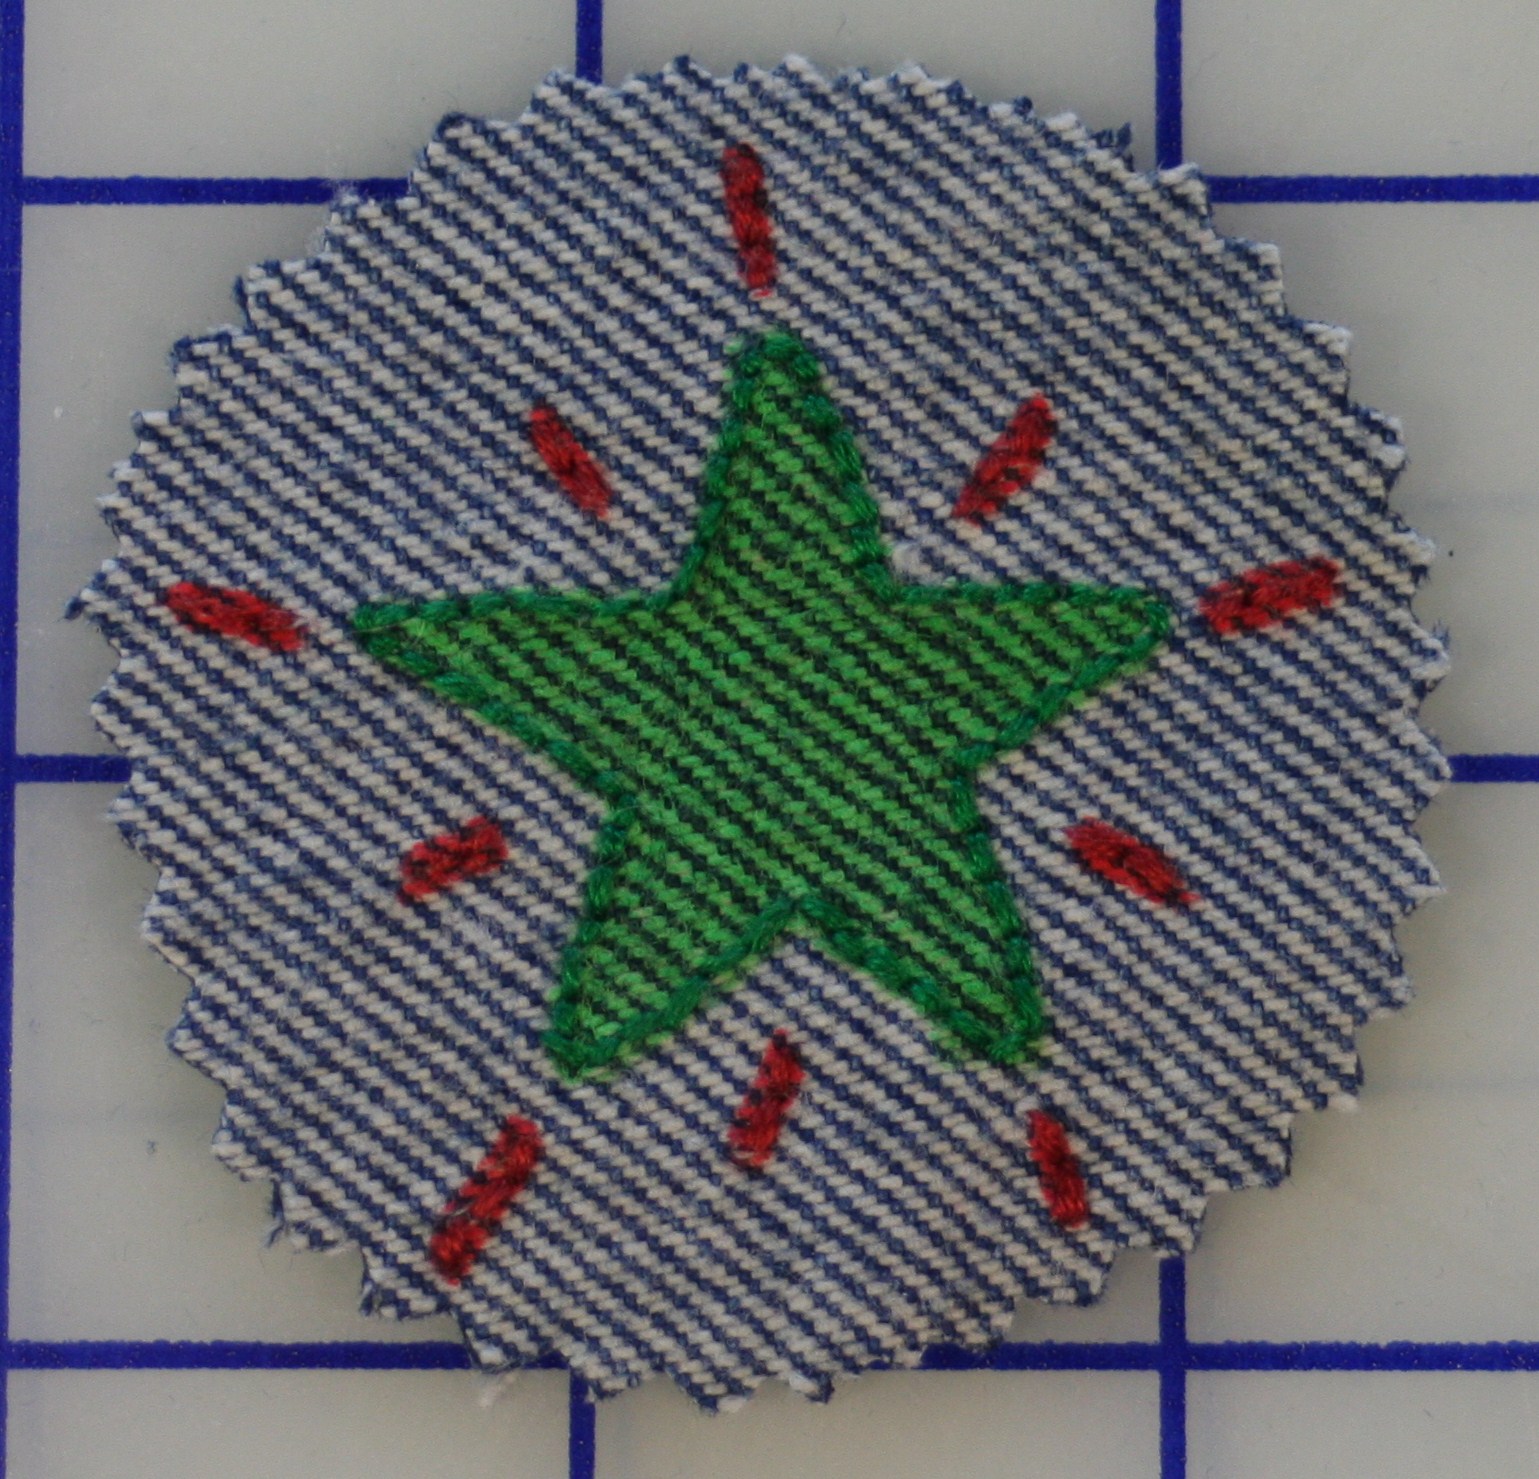
Cut it out with pinking shears (which will prevent the edges from fraying) or scissors, and you’re done. Denim works great for this kind of badge, so if you’ve got some scraps of old jeans lying around this is a good way to use them up. Canvas would work great, too. Avoid felt for this version because the fuzzy surface does not work well with markers.

Badge Tutorial

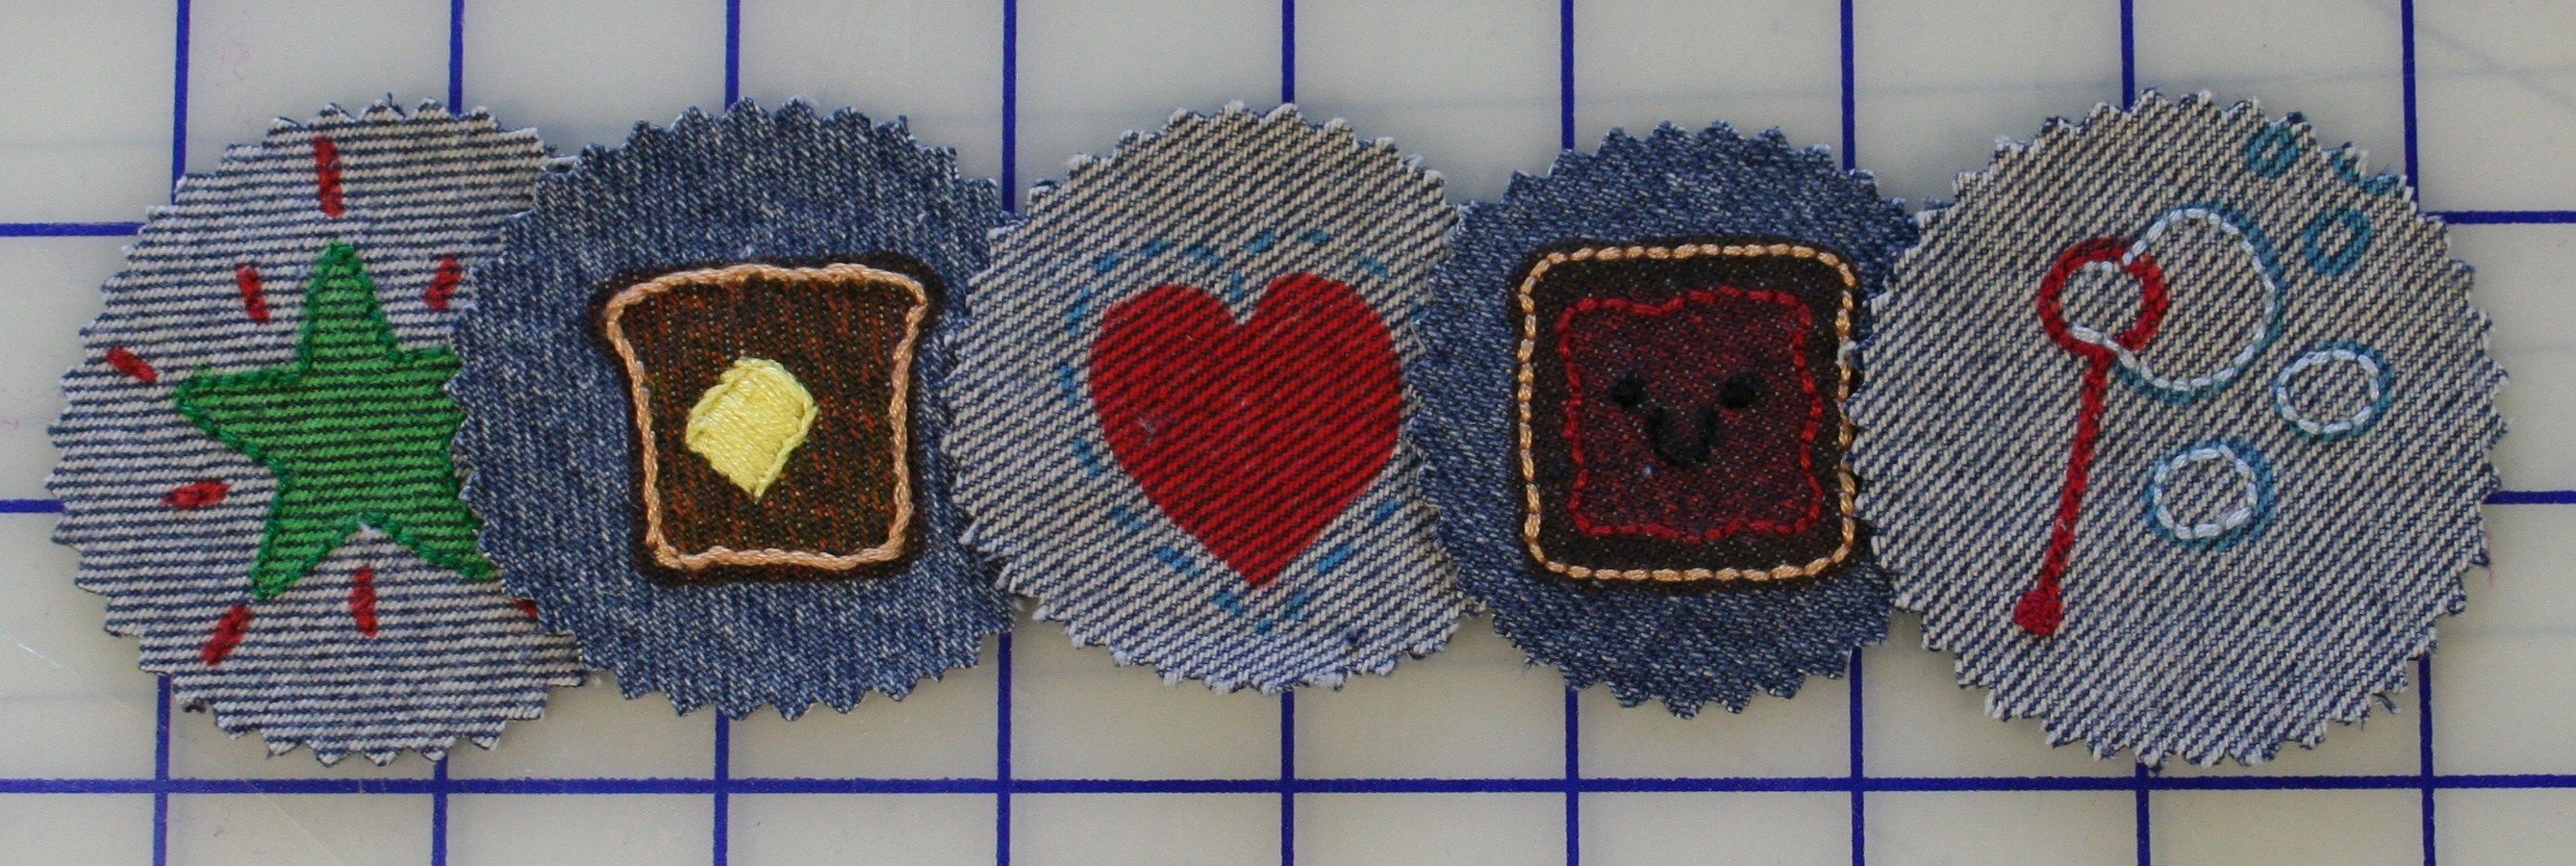
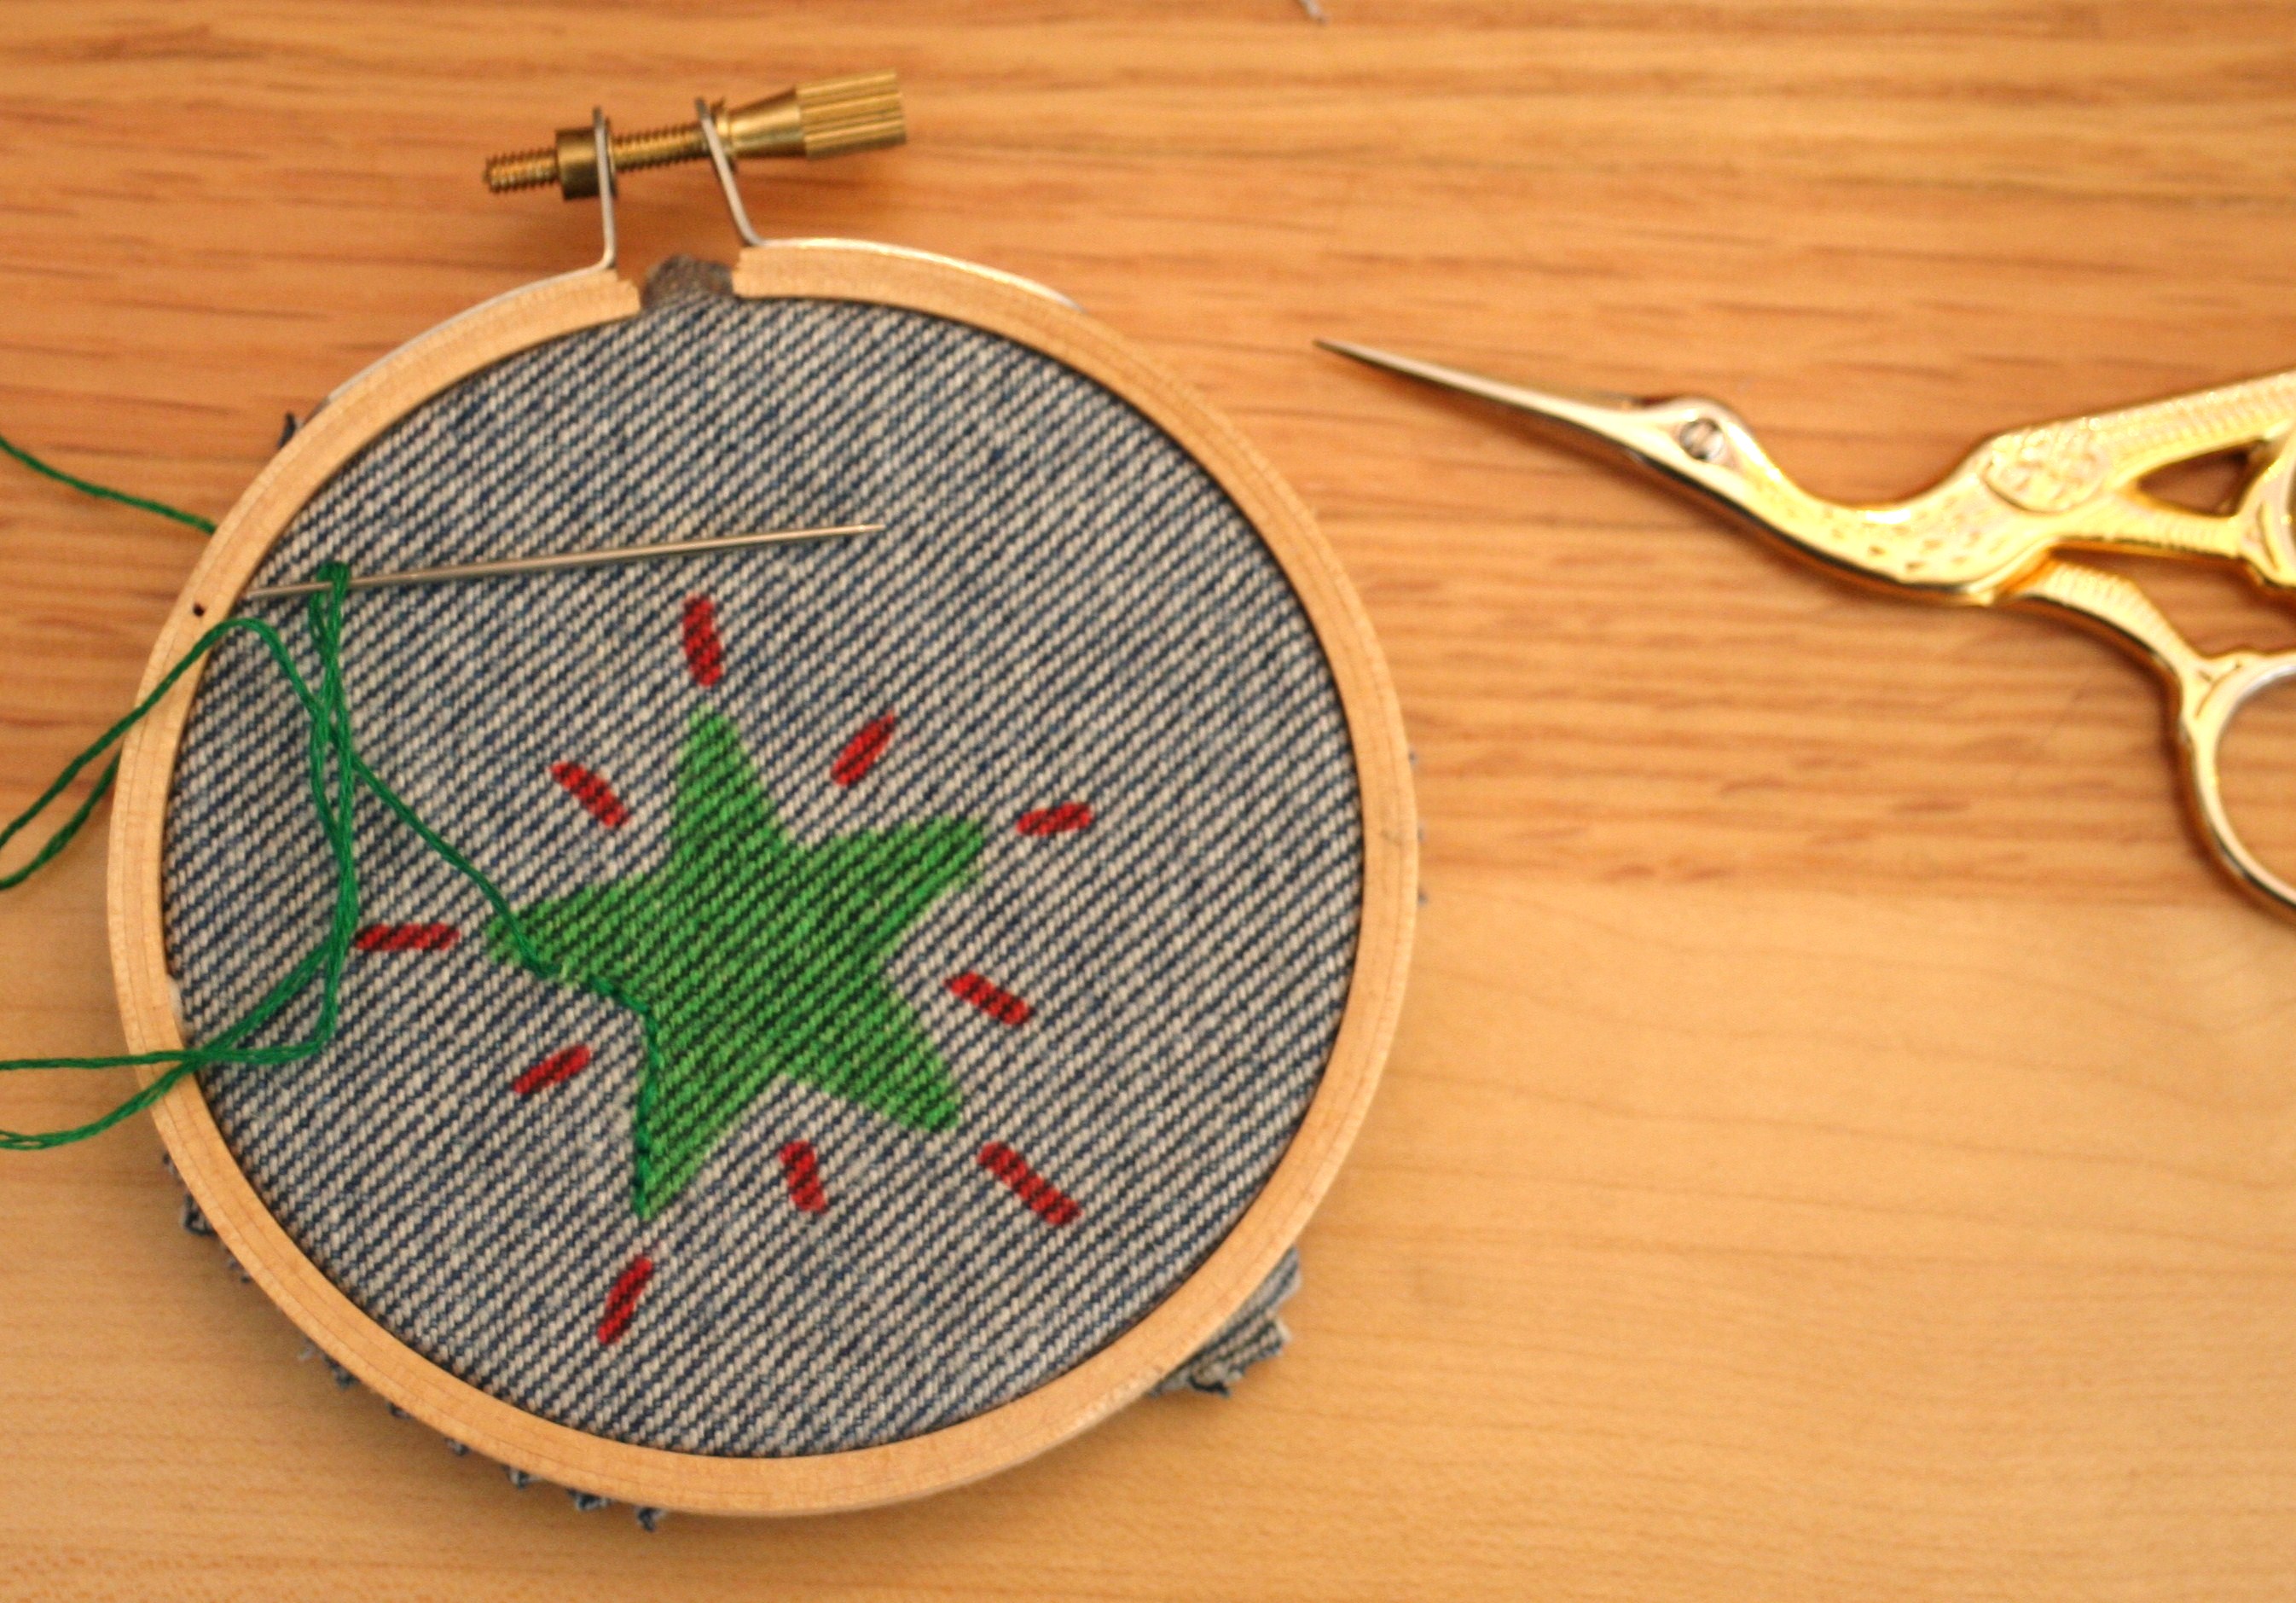
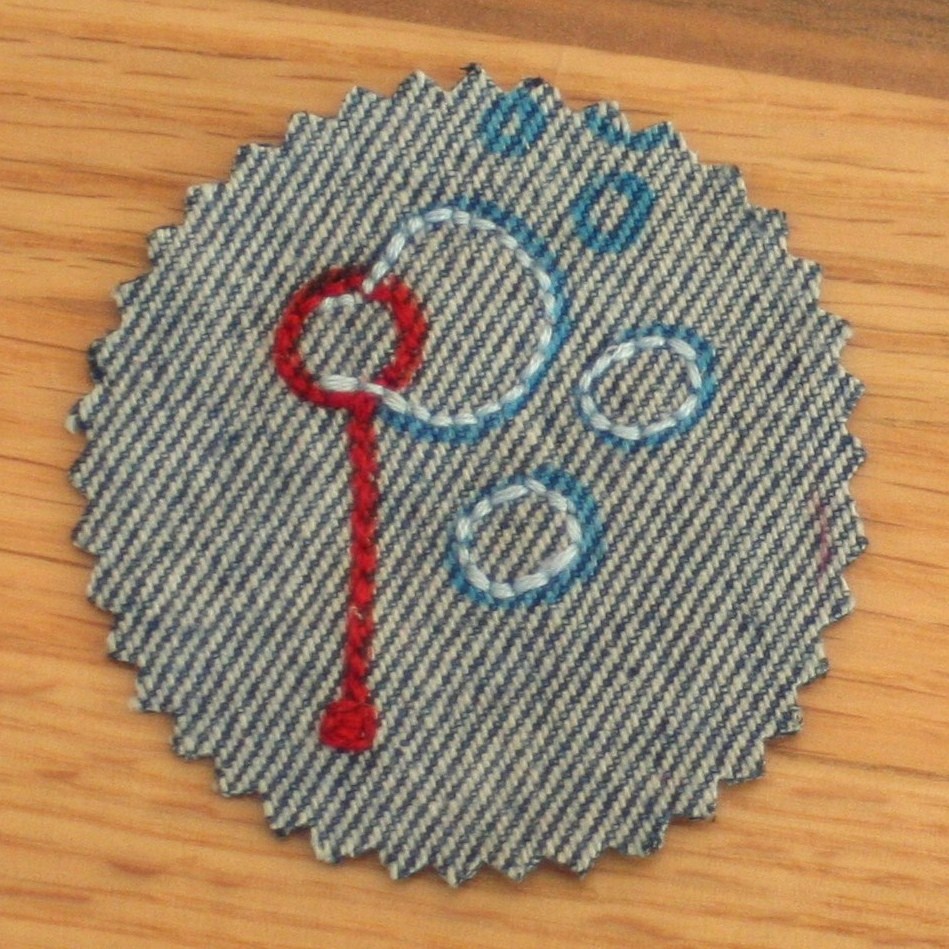
If you want to get a bit fancier, put the fabric in a hoop and embroider over your drawing. I embroidered just the outline to save time. You could even embroider some outlines but not others as I did with the bubbles example below, or fill it all in completely.

Badge Tutorial

Cut it out using the same method above. You’ll want a fabric that can handle dense stitching. Consider using interfacing if you choose a particularly thin fabric. Scraps of denim work great for this option as well as canvas. Craft felt is a good choice if you don’t mind not being able to draw your design on in detail before you embroider. I love working with felt because it comes in dozens of colors and is inexpensive. Cross stitch fabric is particularly helpful if free-form embroidery gives you the willies.

Badge Tutorial


Badge Tutorial

To affix your badge to something (sash, banner, super 80s denim jacket), pin it in place and hand stitch around the outside using a coordinating thread. Or if you have a sewing machine, use a dense zigzag stitch all the way around. If you don’t feel like hand sewing and you don’t own a sewing machine, get some fusible iron-on tape and heat set it in place.

Et voila!

US4F Sash

You can make a badge for any occasion or achievement. Make a bunch to keep on hand to surprise your friends. Take to the streets and leave a few out in the open for people to find. A little bit of silliness might brighten someone’s day (and we could all use a bit of brightening now and then, especially to get us through a difficult winter). Use your imagination and have fun!

See next week’s tutorial on how to make your own sash.

Leave a comment!

Coming Soon!

I have a few tutorials in the works right now, and am just doing the finishing touches. Come back soon, and I’ll have some fun projects ready to share!


Leave a comment!